
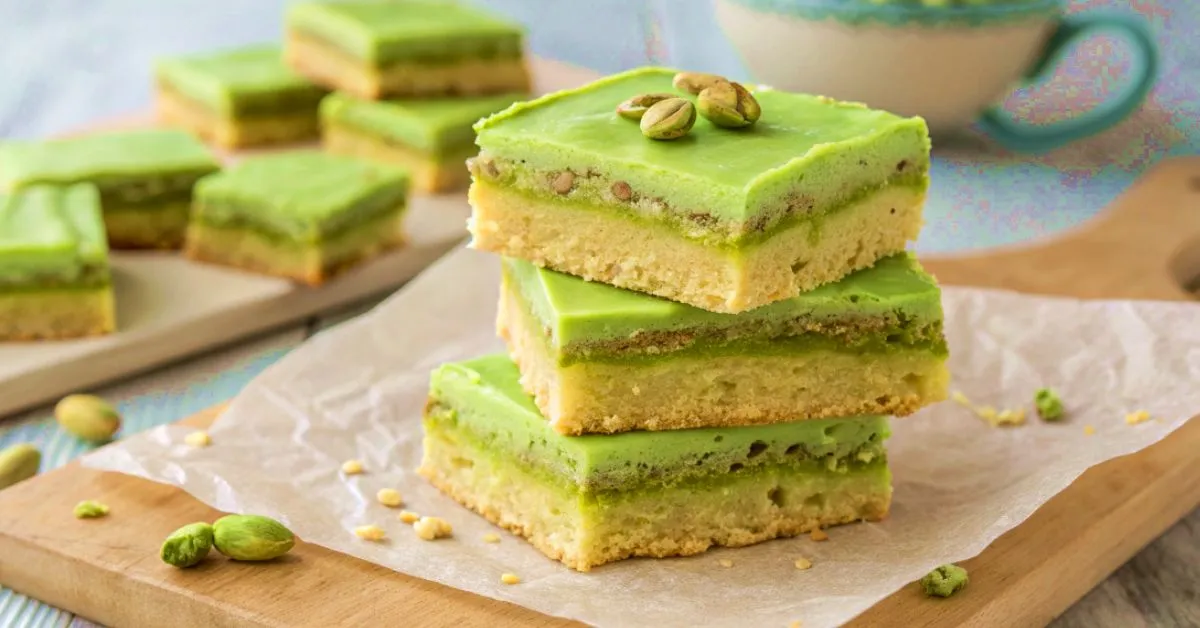
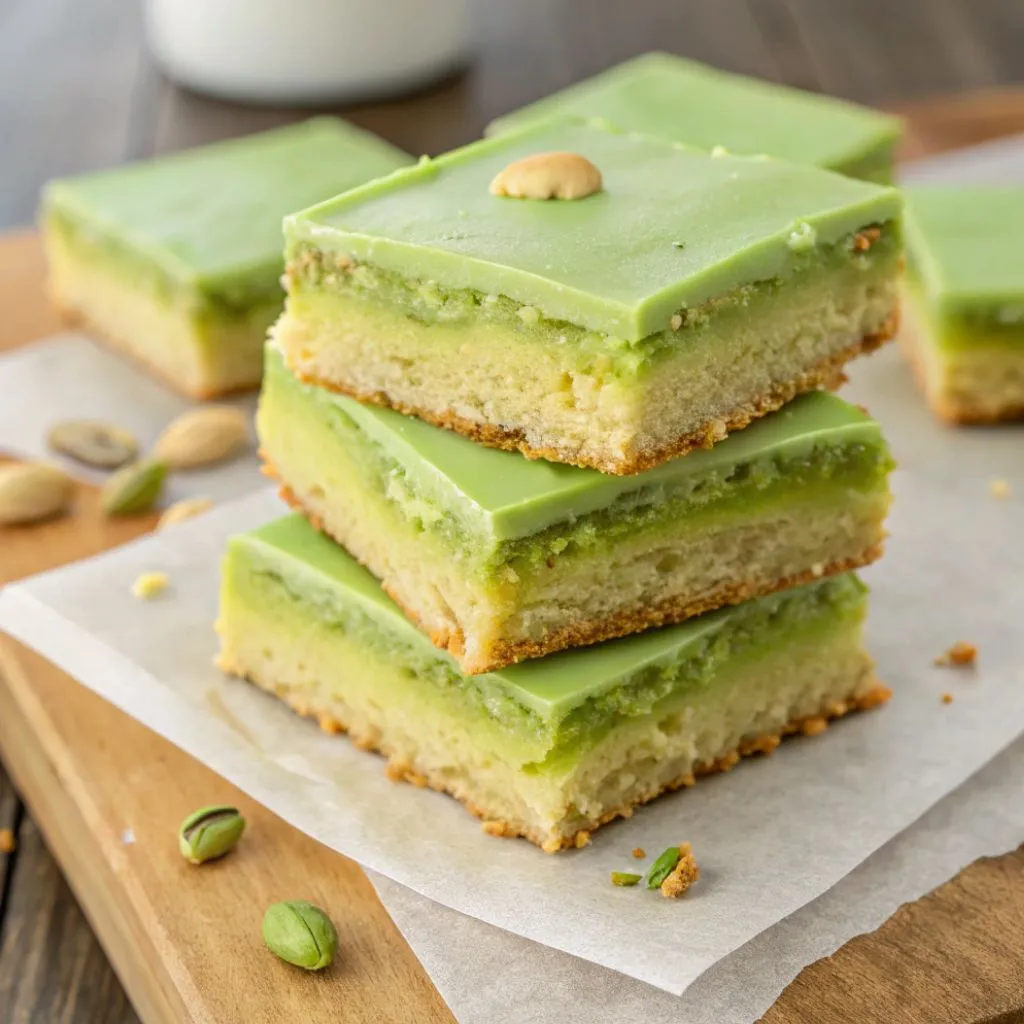
It was one of those stormy Sunday afterlife when incinerating seems like the only sensible thing to do. My sister had just dropped by with a bag of pistachios from her recent trip to California, and they sat on my counter, practically begging to be used. I’d been stuck in a cookie rut—making the same chocolate chip recipe for what felt like the hundredth time—when inspiration hit. What if I turned my favorite easy cookie bars into something special with these gorgeous green nuts? That afternoon, these Pistachio Dream Cookie Bars were born, and they’ve been a family obsession ever since.
There’s something irresistible about the buttery shortbread crust, creamy sweet filling, and the delicate crunch of pistachios that makes these bars impossible to resist. The best part? They’re surprisingly simple to make—even if you’re still getting the hang of baking. So snare your apron, and let’s produce some pistachio magic together!
Table of Contents
What Makes These Pistachio Dream Cookie Bars Special
These cookie bars strike that perfect balance between indulgent treat and commodity a little different from your standard cate chow. The pistachios add a gorgeous color, a satisfying crunch, and a subtle earthy flavor that dyads beautifully with the agreeableness of the cookie base and white chocolate.
They’re also incredibly versatile—elegant enough for a dinner party but homey enough for a lunchbox treat. I’ve served them at holiday gatherings, book club meetings, and even as a special “just because” surprise for friends going through tough times. Every single time, people ask for the recipe.

The Recipe
Ingredients
For the Cookie Base:
- 1 cup (2 sticks) unsalted butter, softened
- 3/4 cup granulated sugar
- 3/4 cup light brown sugar, packed
- 2 large eggs
- 1 teaspoon vanilla extract
- 1/2 teaspoon almond extract (optional, but adds amazing flavor)
- 2 1/4 cups all-purpose flour
- 1 teaspoon baking soda
- 1/2 teaspoon salt
For the Pistachio Topping:
- 1 1/2 cups white chocolate chips
- 1 mug shelled pistachios, roughly diced( plus 1/4 mug finely diced for trim)
- 1/2 teaspoon sea salt (optional, for sprinkling)
Equipment Needed
- 9×13 inch baking pan
- Parchment paper
- Electric mixer (hand or stand)
- Mixing bowls
- Measuring cups and spoons
- Spatula
- Knife for cutting bars
Step-by-Step Instructions
Preparing the Pan and Oven
- Preheat your oven to 350°F (175°C).
- Line your 9×13 inch baking pan with parchment paper, leaving some overhang on the sides to easily lift the bars out later. This is your future self thanking you—trust me!
- Give the parchment a light spray with cooking oil if you have it on hand.
Making the Cookie Base
- In a large bowl, cream together the softened adulation, granulated sugar, and brown sugar until light and ethereal. This generally takes about 2- 3 twinkles with an electric mixer. Take your time with this process, as it’s crucial for achieving the ideal texture in your cookie bars.
- Incorporate eggs individually, thoroughly mixing after each one is added.
- Stir in the vanilla excerpt and almond excerpt( if using).
- In a separate coliseum, whisk together the flour, incinerating soda pop, and swab.
- Gradationally add the dry constituents to the adulation admixture, mixing on low speed until just combined.. Be careful not to overmix— nothing wants tough cookie bars!
- Press the dough unevenly into your set baking visage. I find slightly damp hands work best for this to prevent sticking.
Adding the Pistachio Magic
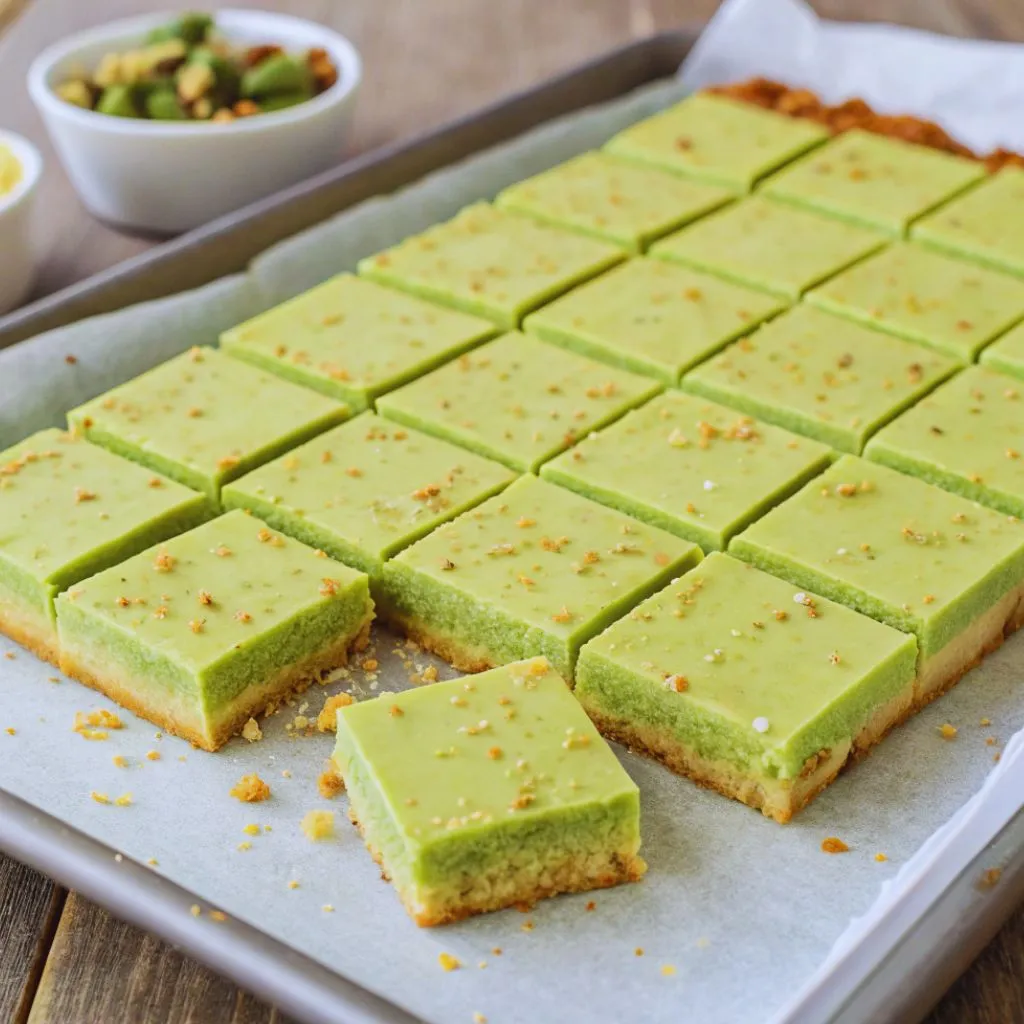
- Sprinkle the white chocolate chips unevenly over the cookie dough.
- Scatter the chopped pistachios over the white chocolate layer, gently pressing them in slightly.
- If using, sprinkle a little sea salt over the top for that sweet-salty contrast that makes these bars truly irresistible.
Baking to Perfection
- Bake in your preheated oven for 25-30 minutes, until the edges are golden brown and the center is set. The center might still look slightly soft, but it will firm up as it cools.
- Remove from the roaster and let cool in the visage for at least 1 hour. I know it’s tempting to dig in right away, but patience pays off here!
- Once fully cooled, lift the bars out using the diploma paper protuberance, place on a slice board, and cut into places or blocks.
- Sprinkle with the remaining finely chopped pistachios for a beautiful finishing touch.
Helpful Tips & Variations
For Perfect Results Every Time
- Room temperature constituents: Make sure your adulation and eggs are at room temperature before starting. This creates a smoother, better-incorporated dough.
- Don’t overbake: These bars should be slightly soft in the center when you take them out of the oven. They’ll continue to set as they cool.
- Cooling is crucial: These bars need to cool completely before cutting, or you’ll end up with a gooey (albeit delicious) mess.
- Storage secrets: Keep these in an watertight vessel at room temperature for over to 5 days, or indurate them for over to 3 months.
Mix It Up: Tasty Variations
- Chocolate lover’s version: Swap the white chocolate chips for semi-sweet or dark chocolate chips if you prefer a less sweet treat.
- Berry beautiful: Add 1/2 cup of dried cranberries or cherries for a fruity twist that pairs wonderfully with the pistachios.
- Coconut crush: Mix 1/2 cup of shredded coconut into the cookie dough for a tropical flavor profile.
- Healthier option: Reduce the sugar by 1/4 cup total and add 2 tablespoons of honey for natural sweetness.
- Gluten-sensitive: Use a cup-for-cup gluten-free flour blend instead of all-purpose flour.
Frequently Asked Questions About Pistachio Dream Cookie Bars
Can I use salted pistachios for these Pistachio Dream Cookie Bars?
Yes, you can! If using salted pistachios, just reduce or eliminate the added salt in both the cookie base and the sprinkle on top. The salty-sweet combination is actually quite delicious in these bars.
How do I know when my Pistachio Dream Cookie Bars are done baking?
Look for golden brown edges and a set (but still slightly soft) center. A toothpick inserted into the center should come out with a few moist crumbs, but no wet batter. FlashBack that they’ll continue to firm up as they cool.
Is it possible to prepare Pistachio Dream Cookie Bars in advance?
Absolutely! These bars actually taste indeed better the day after incinerating as the flavors have time to immingle. They’re perfect for making a day before a party or gathering.
My pistachios turned brown in the oven. How can I keep that vibrant green color in my Pistachio Dream Cookie Bars?
To preserve that pretty green color, try adding most of the pistachios in the last 5-10 minutes of baking time. Alternatively, reserve about half of your pistachios to sprinkle on top right after the bars come out of the oven, when they’re still warm enough for the nuts to stick but not so hot that they’ll brown.
Can I double the recipe for Pistachio Dream Cookie Bars?
Yes! Double all ingredients and use two 9×13 pans, or one larger sheet pan. You might need to adjust the baking time slightly—start checking about 5 minutes earlier than the recipe suggests.
Conclusion: Why Pistachio Dream Cookie Bars Deserve a Spot in Your Recipe Collection
These Pistachio Dream Cookie Bars are more than just a treat—they’re a way to bring something special to ordinary moments. With their buttery cookie base, sweet white chocolate middle, and crunchy pistachio topping, they hit all the right notes between familiar comfort and exciting novelty.
Even if you’re just starting your cooking journey, this recipe is approachable enough to master on your first try. And for experienced bakers, the unique flavor combination offers something fresh to add to your repertoire.